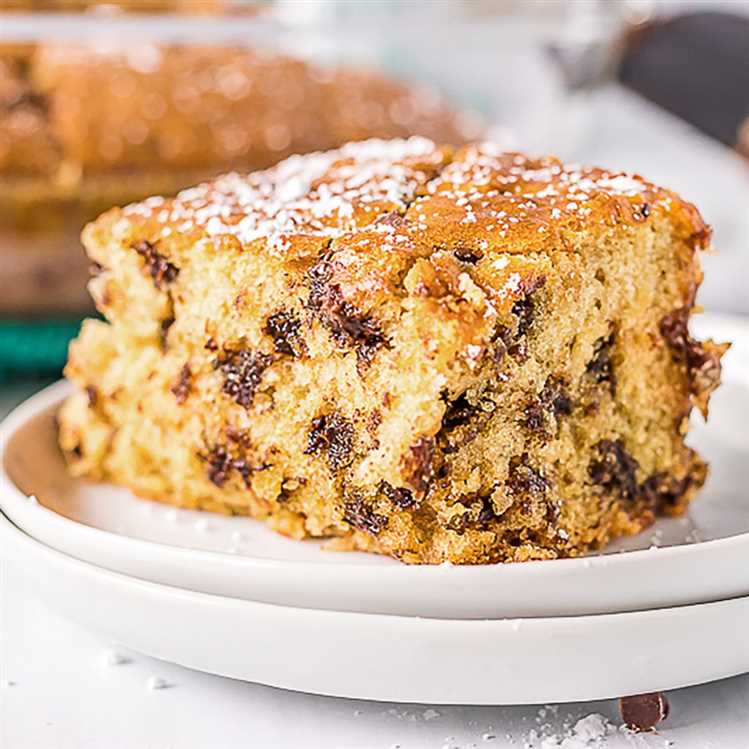
Are you looking for a quick and easy dessert that is both delicious and satisfying? Look no further than this mouthwatering chocolate chip snack cake! This recipe is perfect for those who love the flavor of chocolate and crave a sweet treat any time of the day.
With simple and basic ingredients that you probably already have in your pantry, you can whip up this delectable snack cake in no time. Whether you prefer to use milk or dark chocolate chips, this recipe will surely satisfy your chocolate cravings. Plus, with its easy-to-follow instructions, even those who are new to baking can easily make this cake.
One of the best things about this snack cake recipe is its versatility. You can try different variations by folding in other ingredients such as nuts or dried fruits to add more texture and flavor. If you’re feeling adventurous, you can even make a silky chocolate mousse filling to take this cake to a whole new level.
This snack cake is not only delicious, but it’s also a great option for those who are conscious about their nutrition. With only 200 kcal per serving, you can enjoy this cake without feeling guilty. It’s a perfect treat to have on hand for those late-night cravings or to serve as a dessert after a hearty dinner.
So why wait? Try this easy chocolate chip snack cake recipe today and discover a whole new world of flavor and indulgence. You’ll love how much joy and satisfaction it will bring to your taste buds. Don’t forget to share your creations on Instagram and tag us @marysrecipes for a chance to be featured in our recipe book!
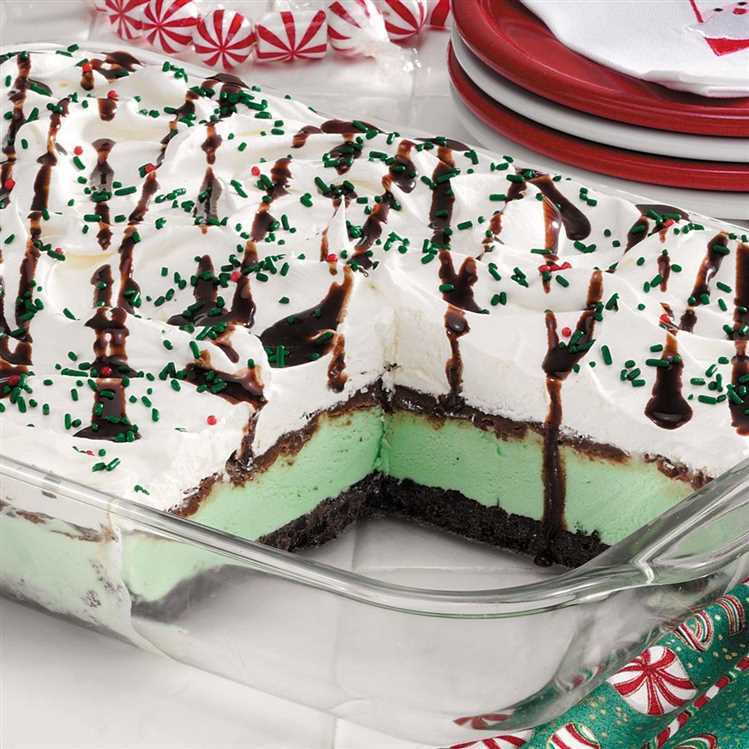
Chocolate Mousse
Looking for a delicious and easy chocolate dessert? Try making chocolate mousse! This silky and rich dessert is the perfect way to satisfy your sweet tooth. It can be eaten on its own or used as a filling for cakes, pies, or even brownies. In this recipe, we will show you how to make a basic chocolate mousse using ingredients you probably already have in your pantry.
Ingredients:
- 1 cup heavy whipping cream
- 8 ounces semi-sweet chocolate chips
- 4 tablespoons unsalted butter
- 4 large eggs
- 1/4 cup granulated sugar
- 1 teaspoon vanilla extract
Instructions:
- In a microwave-safe bowl, melt the chocolate chips and butter together. Stir until smooth and set aside to cool slightly.
- In a mixing bowl, beat the eggs, sugar, and vanilla extract until light and fluffy.
- In a separate bowl, whip the heavy cream until it forms stiff peaks.
- Gently fold the melted chocolate into the egg mixture, being careful not to deflate the mixture.
- Then, fold in the whipped cream until well combined. The batter should be smooth and creamy.
- Divide the mousse into individual serving dishes or pour into a large serving bowl. Cover and refrigerate for at least 2 hours, or until firm.
- Before serving, you can garnish with whipped cream, chocolate shavings, or fresh berries for an added touch.
Notes and Tips:
Here are some additional suggestions and tips:
- Make sure to use a glass or metal bowl when whipping the cream, as plastic can retain oils that may prevent the cream from whipping properly.
- If you don’t have a mixer, you can use a whisk to beat the eggs and a whisk or a rubber/silicone spatula to fold in the other ingredients.
- If you find that your chocolate has seized up while melting, you can add a teaspoon of vinegar to help smooth it out.
- For extra flavor, you can add a tablespoon of liqueur, such as rum or orange liqueur, to the melted chocolate mixture.
- This recipe can be easily doubled or halved to fit your needs.
- Store any leftovers in the refrigerator for up to 3 days.
So, why not try making this yummy chocolate mousse? It’s an easy and delicious dessert that will surely impress your family and friends. Enjoy!
Video Instructions:
Click here to watch a video tutorial on how to make chocolate mousse.
| Calories | Protein | Carbohydrates | Fat |
|---|---|---|---|
| 450 kcal | 6g | 40g | 30g |
Key technique: How to fold in whipped cream
Folding in whipped cream is a key technique in making light and airy desserts, such as mousses, pies, and cakes. When done properly, it helps to incorporate the whipped cream into the batter while keeping it fluffy and maintaining its structure.
Step-by-step instructions:
- Start by preparing your whipped cream. Whip chilled heavy cream with a whisk or electric mixer until soft peaks form. Soft peaks mean that the cream holds its shape but is still slightly soft and billowy.
- In a separate bowl, prepare your cake batter or filling. This could include ingredients such as flour, butter, sugar, chocolate chips, and other flavorings.
- Take about one-third of the whipped cream and add it to the cake batter or filling. This initial addition helps to lighten the batter and makes it easier to incorporate the rest of the whipped cream.
- Using a rubber spatula or silicone spatula, gently fold the whipped cream into the batter. Cut through the center of the mixture with the spatula, then fold the mixture from the bottom up and over the whipped cream, using a gentle lifting and turning motion. Repeat until the whipped cream is fully incorporated.
- Be sure to mix well, but avoid overmixing, as this can cause the whipped cream to deflate and result in a denser texture.
- Once the whipped cream is folded in, transfer the batter to a greased baking dish or pie pan, depending on the recipe you are making.
- Bake the cake according to the recipe’s instructions, usually for around 30-40 minutes, or until a toothpick inserted into the center comes out clean.
- Allow the cake to cool slightly before serving. It can be served warm or at room temperature.
- If storing the cake, make sure it is fully cooled before transferring it to an airtight container. It can be stored in the refrigerator for up to 3 days.
By mastering the folding technique, you’ll be able to create delicious and light desserts that will impress your family and friends. So give it a try next time you bake a cake, pie, or any recipe that calls for whipped cream!
Recipe Overview
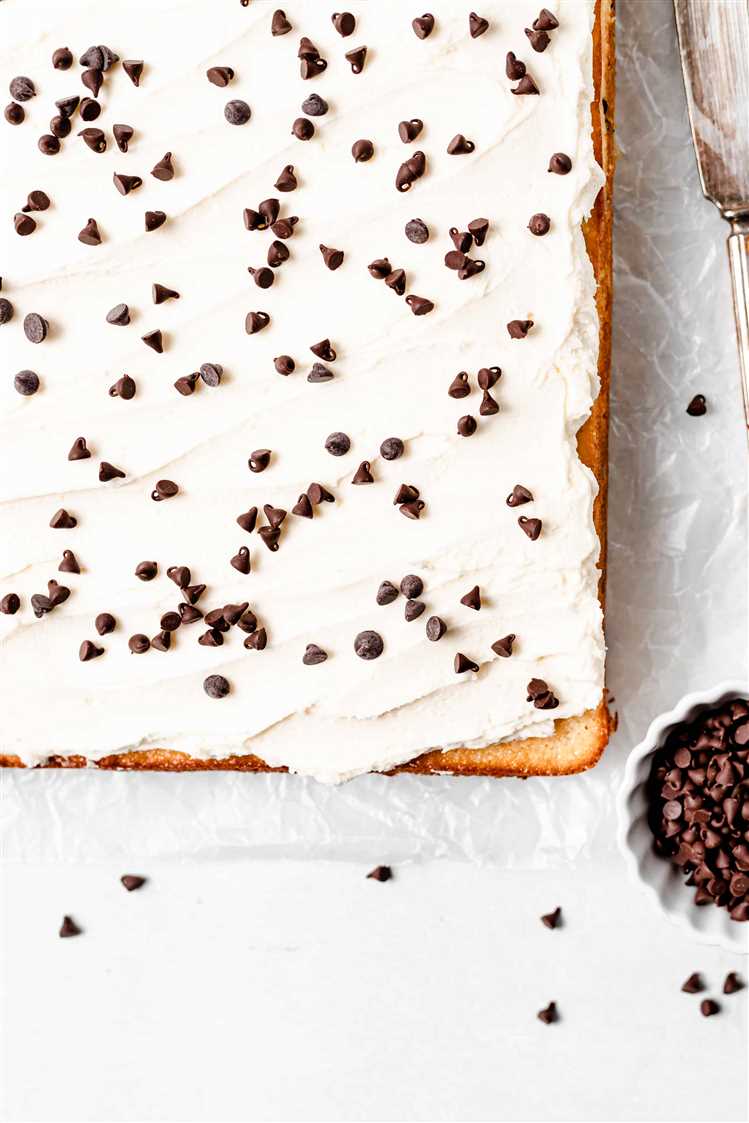
This delicious and easy chocolate chip snack cake recipe is a true crowd-pleaser. With its silky smooth texture and rich chocolate flavor, it’s hard to resist. Perfect for any occasion, this recipe yields a cake that serves approximately 12 servings.
The key to this recipe is the use of chocolate chips, which melt and add a burst of flavor throughout the cake. You’ll also need basic ingredients like butter, sugar, eggs, flour, baking soda, and vinegar. The recipes instructions include how to properly combine and fold these ingredients together for the best results.
One of the reasons why this snack cake is so easy to make is that it doesn’t require a mixer. The batter can be made by hand, just be sure to fold in the chocolate chips evenly. It’s also important to not overmix the batter, as it can result in a denser cake.
Once the cake is baked, you can try adding whipped cream or other toppings to enhance the flavor. These cakes can be eaten right away or stored in the refrigerator for a longer period of time. Just be sure to transfer them to an airtight container to keep them fresh.
For additional tips and suggestions, Mary’s cookbook includes detailed instructions and notes on how to make the perfect chocolate chip snack cake. You can also find suggestions for other flavors, such as cinnamon or nut, that can be used in this recipe.
So why wait? Give this easy chocolate chip snack cake recipe a try and see why it’s a favorite among cake lovers everywhere. And don’t forget to share your delicious creations on Instagram!
Can this be used as a filling for cake or pie?
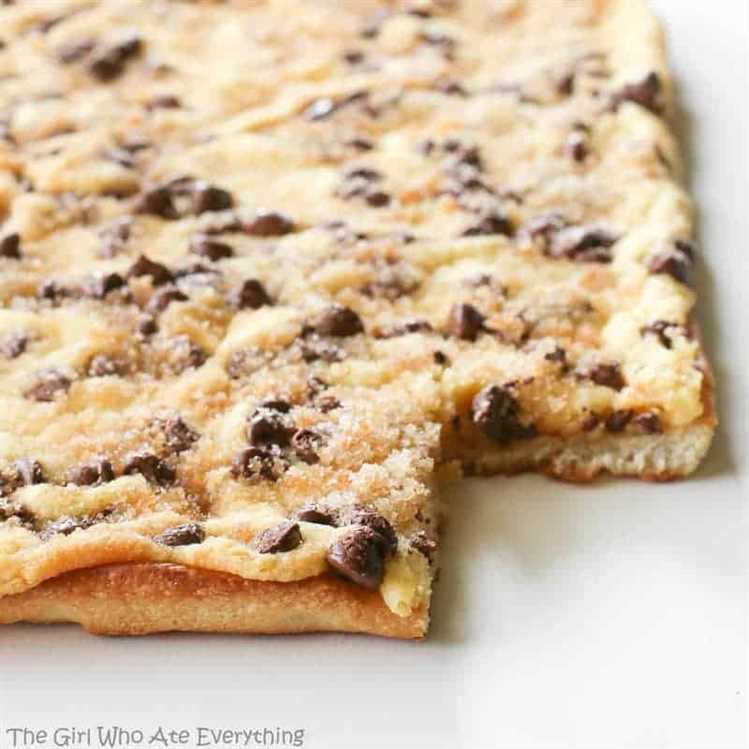
If you’re wondering whether this delicious and easy chocolate chip snack cake recipe can be used as a filling for cake or pie, the answer is yes! This versatile recipe can be easily adapted to create a decadent filling that will take your desserts to the next level.
To use this snack cake recipe as a filling, you’ll want to adjust the baking instructions slightly. Instead of baking the batter in a cake pan, you can pour it into a pie crust or use it to fill cake layers. Be sure to adjust the baking time accordingly as the filling will need less time to cook compared to a full cake.
The key to using this snack cake recipe as a filling is to ensure that it sets up properly. To achieve a firm and silky texture, it’s important to follow a few key steps.
Here are some tips on using this recipe as a filling:
- Mix the batter thoroughly: When preparing the batter, be sure to mix all the ingredients together well. This will help ensure that the filling sets up properly and has a smooth texture.
- Fold in the chocolate chips: Gently fold the chocolate chips into the batter just enough to distribute them evenly. Avoid overmixing, as this can cause the filling to become dense.
- Refrigerate for a few hours: After preparing the filling, refrigerate it for a few hours to allow it to firm up. This will make it easier to spread or layer in your cake or pie.
- Chill the finished dessert: Once your cake or pie is assembled, refrigerate it for a few more hours to let the filling set completely.
- Whipped cream topping: For an extra touch of indulgence, you can top your cake or pie with whipped cream. Whip some whipping cream with a little sugar until it forms soft peaks, then spread it over the filling. You can also sprinkle some cinnamon or chocolate shavings on top for added flavor.
By following these instructions, you can transform this snack cake recipe into a delicious filling for your cakes or pies. Enjoy experimenting with different flavors and combinations, and don’t be afraid to get creative in the kitchen! Your friends and family will love the yummy results.
Ingredients needed
- 1 cup (226 g) of unsalted butter, melted
- 1 cup (220 g) of granulated sugar
- 1 cup (220 g) of light brown sugar, firmly packed
- 4 large eggs
- 2 teaspoons (10 g) of vanilla extract
- 2 cups (250 g) of all-purpose flour
- 1 teaspoon (5 g) of baking powder
- 1/2 teaspoon (2.5 g) of salt
- 1 1/2 cups (270 g) of chocolate chips
To make this delicious and easy chocolate chip snack cake, you will need the following ingredients:
- Unsalted butter acts as the fat in the cake and lends a rich and creamy flavor to the batter.
- Granulated and light brown sugar are used to sweeten the cake and add moisture.
- Eggs provide structure and help bind the ingredients together.
- Vanilla extract adds a warm and fragrant flavor to the cake.
- All-purpose flour is the base ingredient for the cake and gives it structure.
- Baking powder helps the cake rise and ensures a light and fluffy texture.
- Salt enhances the flavor of the cake and balances the sweetness.
- Chocolate chips are dotted throughout the cake, adding bursts of melty and delicious chocolate.
These ingredients can be easily found in your pantry or kitchen. If you don’t have chocolate chips on hand, you can also use chopped chocolate or other mix-ins like nuts or dried fruits.
Now that you have an overview of the ingredients needed, let’s move on to the instructions on how to make this yummy snack cake!
FAQ
Can this chocolate chip snack cake be used as a filling for cake or pie?
Yes, you can use this chocolate chip snack cake as a filling for cake or pie. Its light and fluffy texture makes it a great choice for layering or filling desserts.
How should I store the chocolate chip snack cake?
The chocolate chip snack cake can be stored in an airtight container at room temperature for up to 3 days. If you want to keep it fresh for longer, you can store it in the refrigerator for up to a week.
How do I fold in whipped cream for the chocolate mousse recipe?
To fold in whipped cream for the chocolate mousse recipe, gently add the whipped cream to the chocolate mixture. Use a spatula or a whisk to carefully fold the cream into the chocolate mixture until well combined. Make sure to do this slowly and gently to avoid deflating the whipped cream and keep the mousse light and airy.