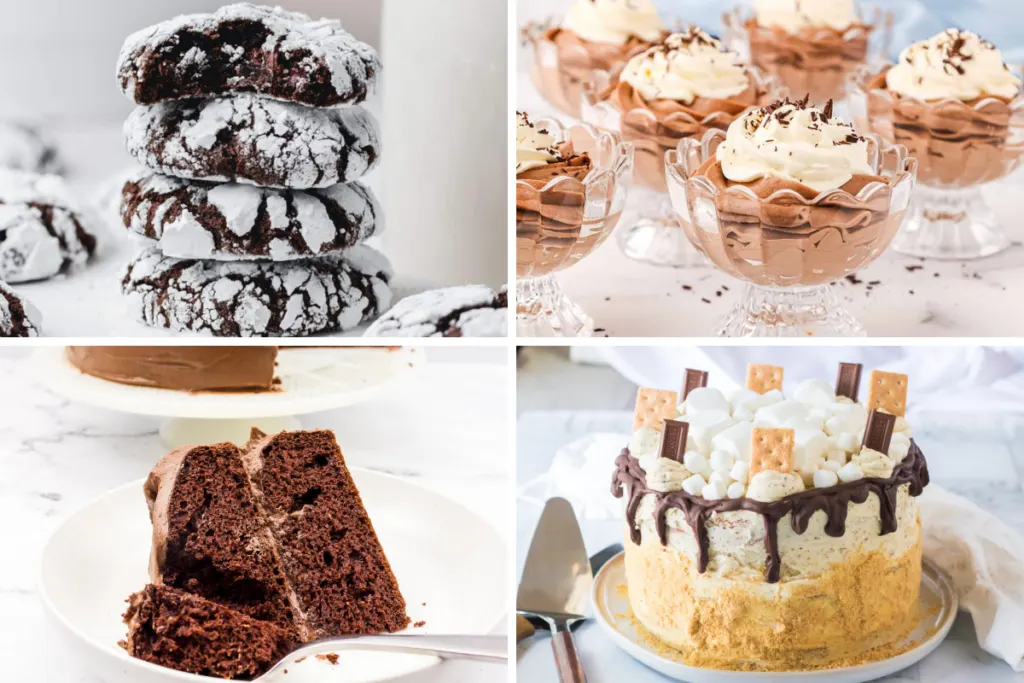
If you are a chocolate lover like me, then this chocolate pudding cake recipe is a must-try! It’s the perfect dessert to make for your next dinner party or holiday gathering. This cake is so moist and chocolatey, it will satisfy even the most intense chocolate cravings. Plus, it’s incredibly easy to make, so even beginner bakers can whip up this decadent treat in no time!
This chocolate pudding cake is made by layering a rich, creamy chocolate filling between layers of moist chocolate cake. The result is a dessert that is perfectly sweet, with a smooth and velvety texture. It’s like a cross between a cake and a chocolate mousse. The chocolate filling is made with a combination of sugar, cocoa, and milk, which is then cooked until it thickens into a luscious pudding-like consistency. The cake itself is made with a simple mix of flour, sugar, cocoa powder, baking powder, and salt.
Once the cake is baked, you can frost it with your favorite frosting. I love using a classic chocolate buttercream frosting, but you can also use cream cheese frosting or even whipped cream. To take this cake to the next level, you can also add some toasted nuts or sprinkles on top for an extra crunch. Serve it with a scoop of vanilla ice cream or a dollop of whipped cream, and you have a dessert that is sure to impress!
So if you’re looking for a delicious and indulgent chocolate dessert that is easy to make and oh-so-moist, look no further than this chocolate pudding cake recipe. It’s the perfect treat to satisfy any chocolate lover’s sweet tooth!
How to Make a Delicious Chocolate Pudding Cake
If you’re a fan of s’mores, you will surely love this delicious chocolate pudding cake. It’s smooth, moist, and packed with rich chocolate flavor. This dessert is perfect for any occasion and will surely impress your family and friends.
Here’s a step-by-step guide on how to make this decadent treat:
Ingredients:
- 1 box of chocolate cake mix
- 1 package of instant chocolate pudding mix
- 4 large eggs
- 1 cup of sour cream
- 1/2 cup of vegetable oil
- 1/2 cup of water
- 1 cup of chocolate chips
- 1/2 cup of crushed cookies (such as graham crackers or chocolate sandwich cookies)
Instructions:
- Preheat your oven to 350°F (175°C) and grease a bundt cake pan.
- In a large mixing bowl, combine the cake mix, pudding mix, eggs, sour cream, vegetable oil, and water. Mix well until all the ingredients are fully incorporated.
- Add the chocolate chips to the batter and gently fold them in.
- Pour half of the batter into the greased bundt cake pan.
- Sprinkle the crushed cookies evenly over the batter.
- Pour the remaining batter on top of the cookies, making sure it covers them completely.
- Bake in the preheated oven for about 50-60 minutes, or until a toothpick inserted into the center of the cake comes out clean.
- Remove the cake from the oven and let it cool in the pan for about 10 minutes.
- Once cooled, invert the cake onto a serving plate or cake stand.
- Serve the chocolate pudding cake as is, or you can dust it with powdered sugar or drizzle caramel sauce over the top for an extra touch of sweetness.
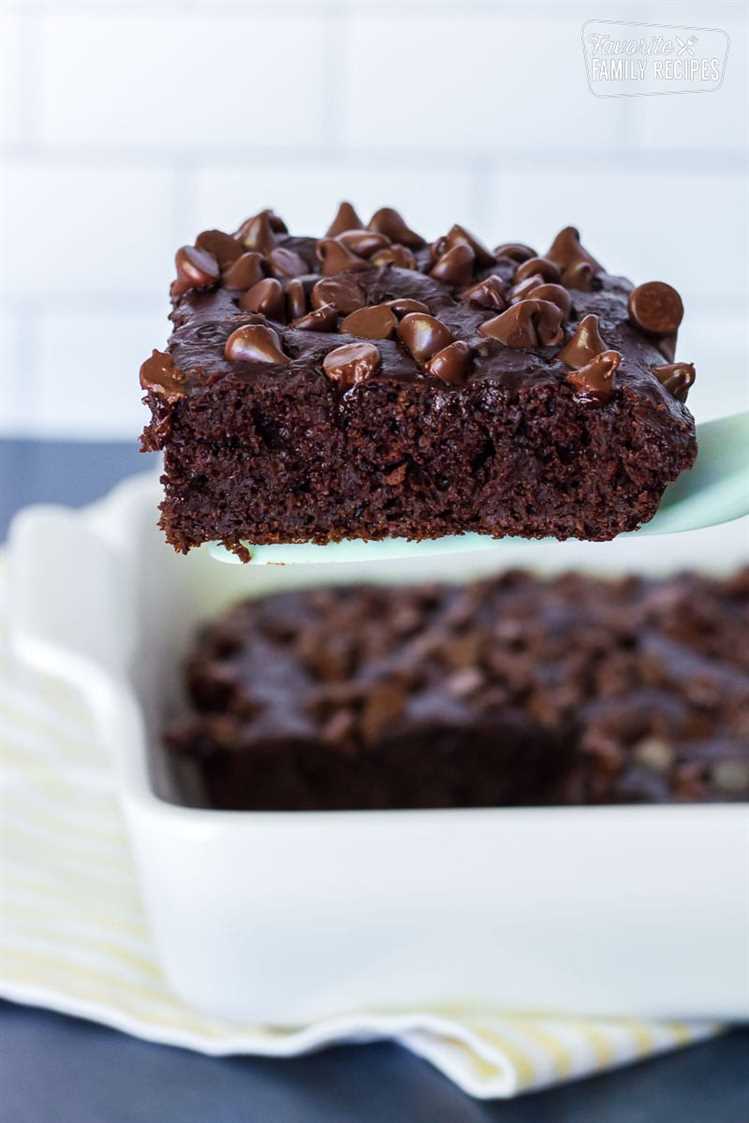
This homemade chocolate pudding cake is a dessert that will surely satisfy your chocolate cravings. It’s rich, creamy, and simply irresistible. Whether you’re serving it for a holiday celebration or just indulging in a sweet treat, this cake is sure to please.
Ingredients for the Cake
To make this delicious chocolate pudding cake, you will need the following ingredients:
- 7 eggs
- 3 cups of cocoa powder
- 2 cups of sugar
- 1 cup of butter
- 1 cup of milk
- 1 cup of all-purpose flour
- 1 tablespoon of vanilla extract
- 1 teaspoon of baking powder
- 1/2 teaspoon of salt
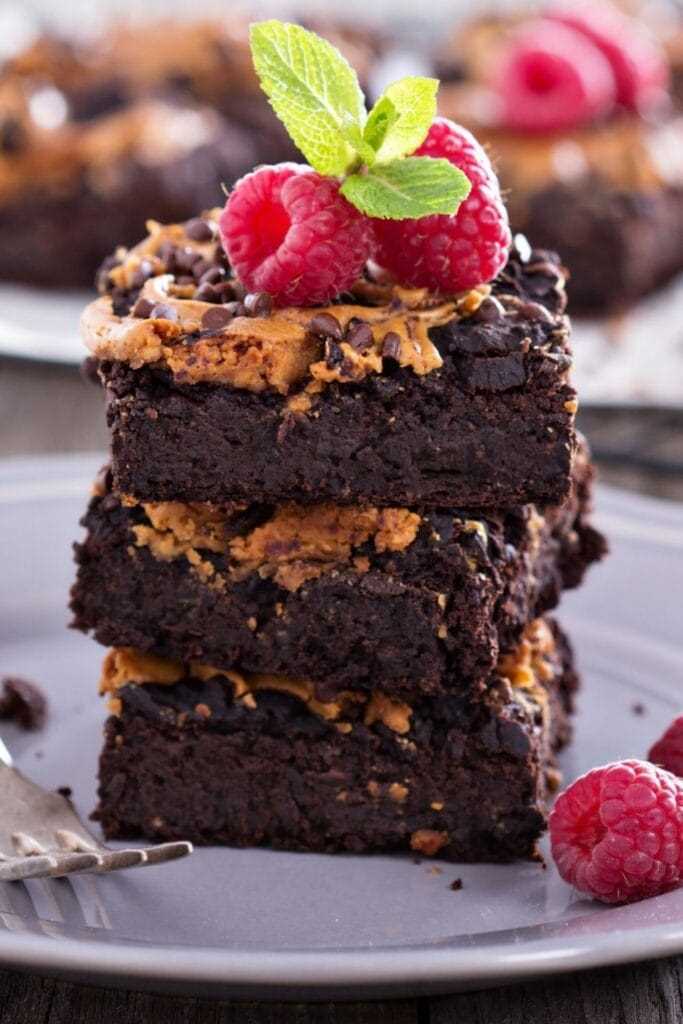
Brownie Layer
The brownie layer is the key to this cake’s decadent and chocolatey taste. It is a mixture of cocoa powder, sugar, butter, eggs, flour, vanilla extract, baking powder, and salt.
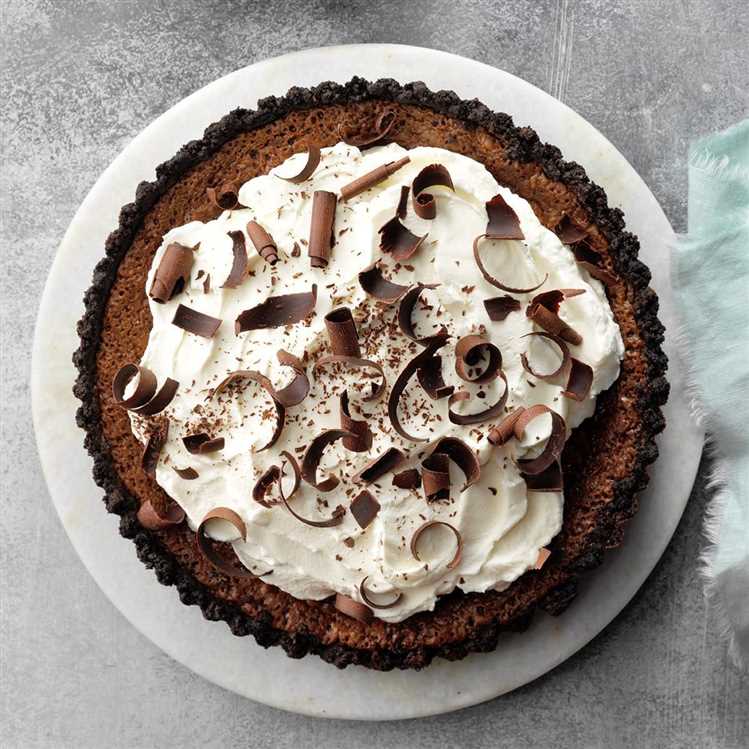
Pudding Layer
The pudding layer adds a creamy and silky texture to the cake. It is made by combining milk, sugar, cocoa powder, flour, and eggs, and then cooking it on the stovetop until thickened.
Chocolate Sauce
To top off this delicious cake, a chocolate sauce is poured over the warm cake. The sauce is made from a combination of cocoa powder, sugar, butter, and milk, and is cooked until thickened. This sauce adds an extra layer of richness and chocolate flavor.
With these ingredients, you can create a moist and chocolatey bundt cake that is perfect for any occasion. Whether you serve it as a dessert at a dinner party or enjoy it as a treat for yourself, this chocolate pudding cake is sure to be a hit.
Steps to Prepare Chocolate Pudding Cake
Are you ready to indulge in a delicious and decadent dessert? This recipe for chocolate pudding cake will surely satisfy your sweet tooth! Whether you’re a beginner in the kitchen or a seasoned pastry chef, this dessert is easy to make and will impress your guests.
Here’s how to prepare this heavenly chocolate pudding cake:
1. Preheat your oven to 350°F (175°C) and grease a baking dish.
2. In a mixing bowl, combine 1 cup of flour, 2/3 cup of sugar, 2 tablespoons of cocoa powder, 2 teaspoons of baking powder, and a pinch of salt.
3. Add 1/2 cup of milk, 2 tablespoons of melted butter, and 1 teaspoon of vanilla extract to the dry ingredients. Mix until the batter is smooth.
4. Pour the batter into the greased baking dish.
5. In a separate bowl, mix together 1/2 cup of white sugar, 1/4 cup of brown sugar, and 3 tablespoons of cocoa powder. Sprinkle this mixture evenly over the batter in the baking dish.
6. Slowly pour 1 1/4 cups of boiling water over the top. Do not stir.
7. Bake the cake for 40-45 minutes or until the pudding is set and the cake is firm to the touch.
8. Remove the cake from the oven and let it cool for a few minutes.
9. Serve the chocolate pudding cake warm, topped with a scoop of vanilla ice cream or a dollop of whipped cream.
10. Enjoy this luscious dessert with a cup of coffee or a glass of milk.
This chocolate pudding cake is the perfect dessert for any occasion. Whether you’re hosting a dinner party or simply craving a sweet treat, this recipe won’t disappoint. The rich chocolate flavor combined with the gooey pudding filling will surely leave you wanting more. So grab your mixing bowl and get ready to bake this heavenly chocolate pudding cake!
Tips for a Moist Chocolate Pudding Cake
Looking to create the most decadent and moist chocolate pudding cake? Look no further! We’ve gathered some tips and tricks to help you achieve that mouthwatering texture and flavor that everyone will love.
1. Use a High-Quality Cocoa Powder
The key to a rich and intensely chocolatey pudding cake is using a high-quality cocoa powder. Look for a cocoa powder that is 100% pure and unsweetened for the best results. This will ensure a deep chocolate flavor that is both rich and satisfying.
2. Don’t Overmix the Batter
When mixing the batter, be sure not to overmix. Overmixing can lead to a dense and dry cake. Mix the ingredients just until they are combined to avoid developing too much gluten, resulting in a lighter and more tender cake.
3. Add Moisture with Pudding
To add extra moisture and flavor to your chocolate pudding cake, consider adding pudding mix to the batter. The pudding mix will not only add a delicious taste but also help to keep the cake moist even after baking. Experiment with different flavors such as chocolate, vanilla, or even butterscotch for a unique twist.
4. Use Buttermilk or Sour Cream
While many recipes call for milk or water, using buttermilk or sour cream can add additional moisture and richness to your cake. These ingredients have higher fat content and acidity, which can result in a more tender and moist cake. Just make sure to adjust the other liquid ingredients accordingly.
5. Add Coffee for Extra Depth
| Tip | Measurements |
|---|---|
| Sugar-Cocoa Topping | 1/2 cup granulated sugar + 1/4 cup unsweetened cocoa powder |
| Baking Time | 25-30 minutes |
| Serving Size | 10-12 |
6. Avoid Overbaking
One of the most important tips for a moist chocolate pudding cake is to avoid overbaking. Be sure to test the doneness of your cake with a toothpick after the suggested baking time. If the toothpick comes out with a few moist crumbs, it is done. Overbaking can lead to a dry and crumbly cake, so keep a close eye on it as it bakes.
7. Let It Rest
Once your chocolate pudding cake is out of the oven, allow it to cool in the baking pan for about 10 minutes. This resting time helps the cake to retain its moisture and ensures that you’ll have a tender and moist dessert. After resting, transfer the cake to a wire rack to cool completely before serving.
Follow these tips and you’ll have a moist and delicious chocolate pudding cake that will be a hit at any gathering or celebration. Enjoy!
Serving and Storing Chocolate Pudding Cake
Once you’ve baked this delicious chocolate pudding cake, you’ll need to consider how to serve and store it. Here are some tips to help you enjoy every bite:
Serving:
- Before serving, allow the chocolate pudding cake to cool for about 20 to 30 minutes. This will help the flavors develop and make it easier to handle.
- You can serve the cake as is, or add a dollop of whipped cream or a scoop of vanilla ice cream for an extra special touch.
- If you’re feeling indulgent, you can top the cake with some chocolate syrup, chocolate shavings, or fresh strawberries for a burst of freshness.
- For a truly decadent treat, try serving the cake with a side of homemade marshmallow or creme brûlée.
Storing:
- To ensure the cake stays moist, cover it with plastic wrap or place it in an airtight container before storing it in the refrigerator.
- Properly stored, the cake should last for up to 3 to 4 days in the refrigerator.
- If you’re planning to freeze the cake, wrap it tightly with plastic wrap and then foil to prevent freezer burn. It should last for up to 1 month in the freezer.
- When ready to enjoy again, let the cake thaw in the refrigerator overnight before serving.
Whether you’re a beginner or a seasoned baker, this chocolate pudding cake will surely be a hit. Practice your baking skills with this recipe and you won’t be disappointed. The rich layers of chocolate and the moist, buttery texture make it an instant favorite. Serve it at your next holiday gathering or make mini versions as a delicious party treat. The possibilities are endless!
Easy and Delectable Pumpkin Hand Pies
If you’re a fan of bite-sized desserts, then you’re going to love these easy and delectable pumpkin hand pies. They’re the perfect treat to satisfy your pumpkin cravings and are sure to become a new favorite among family and friends.
Simple Ingredients
To make these delicious hand pies, you’ll need:
- 1 can of pumpkin puree
- 1/2 cup of white sugar
- 1 teaspoon of pumpkin pie spice
- 1/2 teaspoon of salt
- 2 refrigerated pie crusts
Easy Preparation
1. Preheat your oven to 375°F (190°C).
2. In a large bowl, combine the pumpkin puree, white sugar, pumpkin pie spice, and salt. Mix well until all the ingredients are incorporated.
3. Roll out the refrigerated pie crusts on a lightly floured surface. Use a round cookie cutter or a glass to cut out circles from the dough.
4. Place a spoonful of the pumpkin filling onto half of the dough circles. Make sure not to overfill, as it might make it difficult to seal the pies. Leave a small border around the edges.
5. Carefully place another dough circle on top of each filled circle. Press the edges together to seal the pies.
6. Use a fork to crimp the edges of the pies and create a decorative pattern. This will also help to ensure that the pies are sealed properly.
7. Transfer the hand pies to a baking sheet lined with parchment paper.
8. Bake for 18-20 minutes, or until the pies are golden brown and the filling is bubbly.
9. Remove from the oven and let the hand pies cool for a few minutes before serving.
Optional Toppings
These pumpkin hand pies are delicious on their own, but if you want to take them to the next level, here are a few optional toppings you can try:
- Dust the pies with powdered sugar for an extra touch of sweetness.
- Serve the hand pies with a dollop of whipped cream or a scoop of vanilla ice cream.
- Drizzle the pies with a caramel or chocolate sauce for a decadent finishing touch.
Conclusion
Whether you’re making these pumpkin hand pies for a holiday gathering or just a cozy night in, they’re guaranteed to be a hit. Their buttery pie crust and creamy pumpkin filling make for the perfect combination of flavors. So give this recipe a try and enjoy these delectable treats!
How to Make 14 Pumpkin Hand Pies
If you love the taste of pumpkin and the convenience of a handheld treat, these pumpkin hand pies are sure to be a hit. Whether you’re putting together a Thanksgiving dessert spread or just craving something sweet, these pies are a lovely addition to any dessert table.
With a buttery shortcrust pastry and a smooth pumpkin filling, these hand pies are packed with all the flavors of a classic pumpkin pie. And the best part? They’re perfectly portioned for individual servings, making them great for parties and gatherings.
To make these delicious pumpkin hand pies, here’s what you’ll need:
| Ingredients: | Instructions: |
| – 2 cups all-purpose flour | 1. In a mixing bowl, combine the flour, sugar, cocoa, and salt. Mix until well-kept. |
| – 1/2 cup unsweetened cocoa powder | 2. Add the butter and mix until the mixture resembles coarse crumbs. |
| – 1/4 cup granulated sugar | 3. In a separate bowl, whisk together the pumpkin puree, brown sugar, vanilla, cinnamon, nutmeg, cloves, and salt. |
| – 1/2 teaspoon salt | 4. Add the pumpkin mixture to the dry ingredients and mix until well combined. |
| – 1/2 cup unsalted butter, cold and cubed | 5. On a lightly floured surface, roll out the dough into a 1/4-inch thickness. Use a round cookie cutter to cut out 14 circles. |
| – 1 cup pumpkin puree | 6. Place about 1 tablespoon of the pumpkin filling onto half of the dough circles. Brush the edges with water and fold the dough over to form a half-moon shape. |
| – 1/2 cup brown sugar | 7. Use a fork to seal the edges of the pies. Place them on a baking sheet lined with parchment paper. |
| – 1 teaspoon vanilla extract | 8. Using a sharp knife, cut two small slits in the top of each pie to allow steam to escape. |
| – 1 teaspoon ground cinnamon | 9. Bake the pies in a preheated 375°F (190°C) oven for 25-30 minutes, or until the crust is golden brown. |
| – 1/2 teaspoon ground nutmeg | 10. Let the pies cool for a few minutes before serving. They can be enjoyed warm or at room temperature. |
| – 1/4 teaspoon ground cloves | |
| – Water |
For an extra touch, drizzle some caramel sauce on top of the pies or serve them with a dollop of whipped cream. These pumpkin hand pies are a delicious and portable dessert that everyone will love.
FAQ
Can you share a recipe for a delicious chocolate pudding cake?
Sure! Here is a simple and moist chocolate pudding cake recipe that you will love. You will need the following ingredients: 1 cup of all-purpose flour, 2 teaspoons of baking powder, 1/2 teaspoon of salt, 2/3 cup of unsweetened cocoa powder, 1 and 1/2 cups of granulated sugar, 1/2 cup of milk, 1/3 cup of melted butter, 2 teaspoons of vanilla extract, 1/2 cup of semi-sweet chocolate chips, 1 cup of hot water. To make the cake, you need to first preheat the oven to 350°F (175°C). Then, in a large mixing bowl, whisk together the flour, baking powder, salt, cocoa powder, and sugar. Add in the milk, melted butter, and vanilla extract, and mix until well combined. Stir in the chocolate chips. Transfer the batter into a greased 9×9 inch baking dish. Pour the hot water over the batter, but do not stir. Bake in the preheated oven for about 40 minutes, or until the cake is set. Serve warm with ice cream or whipped cream. Enjoy!
What are the ingredients for making macarons?
To make macarons, you will need the following ingredients: 1 and 3/4 cups of powdered sugar, 1 cup of almond flour, 3 large egg whites, 1/4 cup of granulated sugar, 1/2 teaspoon of vanilla extract, a pinch of salt, and any desired fillings or flavorings. These ingredients will make about 36 macarons. You can also add food coloring to the batter if you want to make colorful macarons.
How long does it take to make macarons?
Making macarons can be a bit time-consuming, as there are several steps involved. It usually takes about 2-3 hours from start to finish. The process includes preparing the batter, piping the macarons onto a baking sheet, letting them rest, baking them, and cooling them before filling them with your desired filling. However, the actual hands-on time is usually around 30-40 minutes. It’s important to follow the instructions carefully to achieve the perfect texture and appearance of macarons.
Can you suggest some popular fillings for macarons?
Of course! There are numerous popular fillings for macarons that you can try. Some classic fillings include chocolate ganache, buttercream frosting, fruit jams, and Nutella. You can also get creative and experiment with different flavors and combinations. For example, you can make lemon macarons with a lemon curd filling, or matcha macarons with a white chocolate ganache filling. The possibilities are endless, so have fun exploring different flavor profiles!